Bye-Bye Orange Oak
Look at the legs on that table! Yes, that piece of furniture is older than the internet, but good bones never go out of style. If you find a used piece that speaks to you, don’t hesitate—you truly can transform it into something you absolutely love. In my case, I wanted French Country and I knew underneath that orange varnish, a Pottery Barn dupe was waiting to happen. Here is how I transformed this dated beast into a french country classic.
Full Transparency: Everything used in the video is something I purchased myself and use constantly in my own home. I am an Amazon Influencer share my affiliate links below, so I earn a small commission on qualifying purchases. It really helps support my channel and allows me to keep creating content for you!
SHOP THE SUPPLIES
- Cleaner: Dixie Belle White Lightening Cleaner
- Stain: Dixie Belle “All Natural” Water-Based Gel Stain
- Aging Glaze: DIY Paint “Dark & Decrepit” (Note: This can be hard to find online! Check your local boutiques. If you can’t find it, you can water down a dark brown paint like Dixie Belle “Coffee Bean” to get a similar effect!)
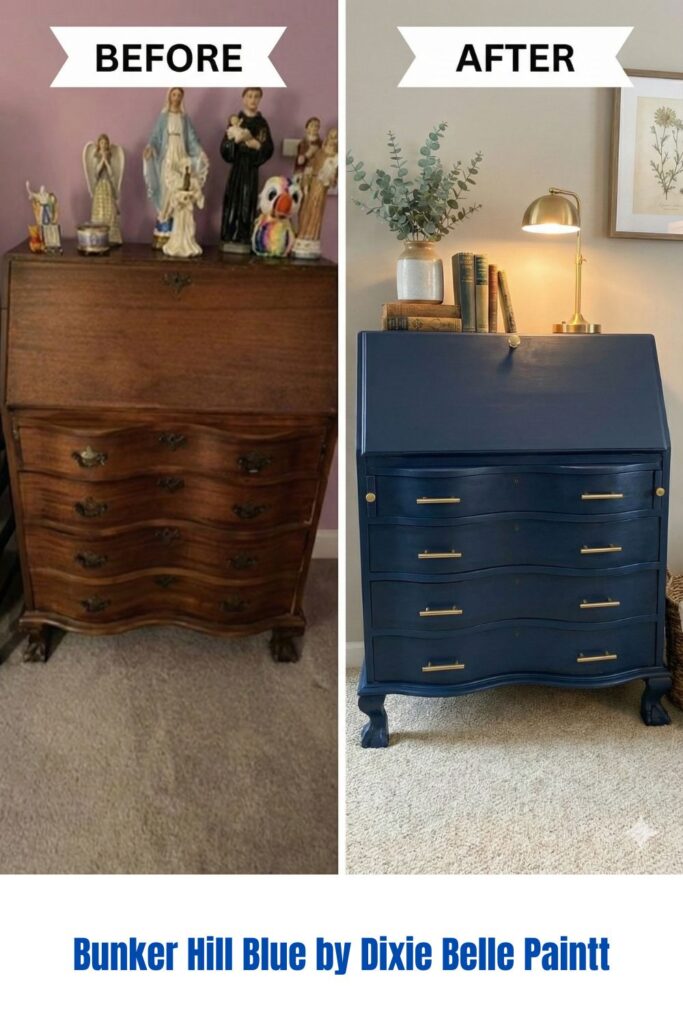
- Paint for Wash: Dixie Belle “Drop Cloth
- Warming Glaze: Van Dyke Brown Glaze
- Waterproof Sealer: Gator Hide
- Tools: Mister Bottle , Rags, Paint Brush, Sponge
The Prep Work: Getting Rid of the Shine
Listen, prep isn’t the fun part, but it’s the necessary part. If you want that high-end look and if you expect it to last like the professionals, you can’t skip it!
- The Deep Clean: This table had seen some things. I started by scrubbing it down with White Lightning by Dixie Belle to remove years of grease and grime.
- The Base & Legs: I didn’t need to strip the pedestal base to bare wood, just gave it a good cleaning. Since I was using chalk paint adhesion wasn’t going to be a problem (as long as I clean it throuroughly)
- The Tabletop: The top was a different story. I wanted to do a faux wood finish on the top but the prior owner had already started sanding it, leaving it uneven. I broke out the orbital sander and sanded it evenly until I could see the raw wood grain. That left me with nice flat even surface to begin creating the faux wood finish.
The Tabletop
For the first layer of color, I used Dixie Belle All Natural, which is a water-based gel stain. I applied two coats. What I love about this specific stain is that it tones down that yellow “honey” tone and gives you a nice, neutral palette to start with. You can leave it here if you want, but I wanted to build more depth.Adding Age (The “Secret” Ingredient)
Next, I used a product called Dark and Decrepit by DIY Paint. I love this color because it instantly makes anything look aged. It can be hard to find online; however you can use watered down Chalk Paint in the color Coffee Bean for the same effect.
How I applied it: I wiped it all over the table, then took a wet sponge and wiped the excess off. If I wanted it lighter in some spots, I just kept taking the wet sponge and wiping it back until I had the depth I wanted. This sits in the wood grain and looks amazing.The Whitewash
To get that French Country look, I grabbed my Dixie Belle Drop Cloth paint.
- I took about a tablespoon of paint and mixed it with a nice amount of water.
- This created a thin wash. It might look like I’m putting it on heavy in the video, but because it is watered down, I have total control.
- I wiped it back pretty heavily, leaving some white streaks here and there.
Tip: This is completely personal preference! You can keep the wash as light or as heavy as you want.
Warming It Up
I realized the chairs I plan to use with this table have a warm undertone, and honestly, I feel like decor has been so “white and gray” lately—I wanted to add some warmth back into my house!
To do this, I used Van Dyke Brown Glaze. I dipped my brush in, threw some color on lightly, and then used a wet rag to wipe it into the grain. This brings back those nice warm brown undertones. The Pedestal Base
For the base, I went back to the Drop Cloth paint, but used a different technique. I wanted the base to look vintage and worn, not solid painted.
- Keep it Damp: I kept my mister bottle handy to keep my brush damp. The more water I add, the more control I have.
- Light Hand: I hit the base lightly with the paint, going in all different directions.
- The Rub Down: I immediately took a dry rag and rubbed the color into the wood. This takes the paint off in some places and leaves it in others.
You honestly can’t mess this up because wherever you take the paint off, it just looks like it was supposed to be that way!
The Result
I still need to seal the top with a clear coat to protect it, and I have two benches coming in that I need to do this exact same finish on, but I am in love with the result.
It just goes to show that you don’t need to spend a fortune to get that high-end look.
Have you ever tried layering glazes like this? Let me know in the comments below!
(Don’t forget: Once your stain is completely dry, you’ll want to seal a dining tabletop with a few coats of Gator Hide, It is a Water Repellant top coat that I use on the tops of all my furniture!)